

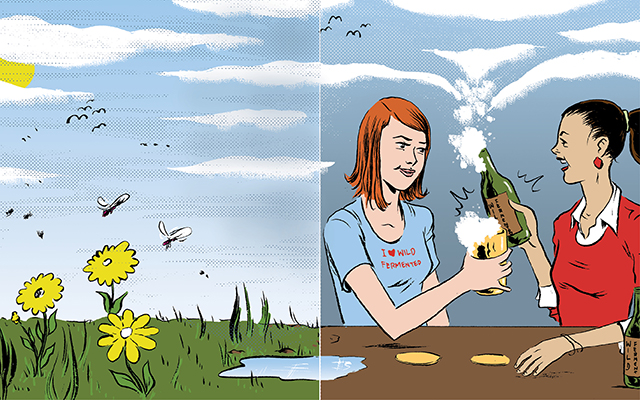
If you’re looking for a DIY alternative to store-bought gluten-free bread, making your own sourdough starter is a good first step. The fermentation process uses naturally occurring wild yeasts and lactobacilli, the gut-friendly bacteria that give sourdough its tart flavor; these organisms also support your body’s absorption of magnesium, zinc, iron, and other nutrients.
Once mature, your starter can serve as a natural leavener in homemade bread, or you can use it to add a trademark tang to your favorite muffin, waffle, or brownie recipes.
Most types of flour will work with this method, but we like brown-rice flour because it’s a gluten-free whole grain. The process is simple: All you need is some filtered water, flour, and time.
Directions
Day 1: In a medium-size glass bowl, stir 4 ounces of brown-rice flour into 4 ounces of filtered water. Cover loosely with a dish towel and let sit at room temperature (about 68 degrees F) for 24 hours. If your home is cooler than that, your starter may grow more slowly; place the bowl in a warm spot (like on top of a refrigerator) to speed up the process.
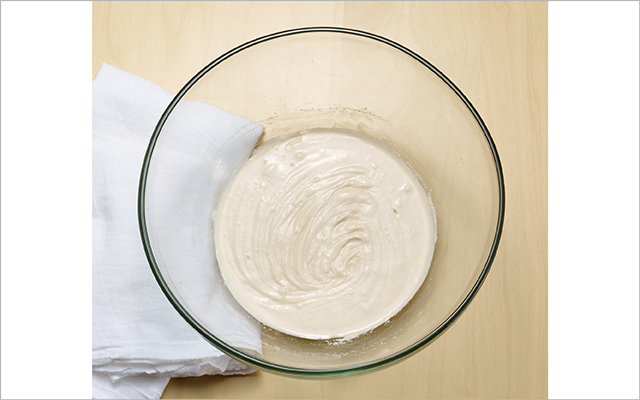 Photography by John Mowers
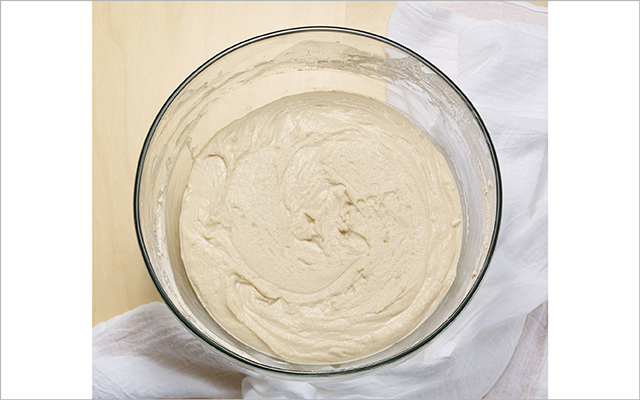 Photography by John Mowers
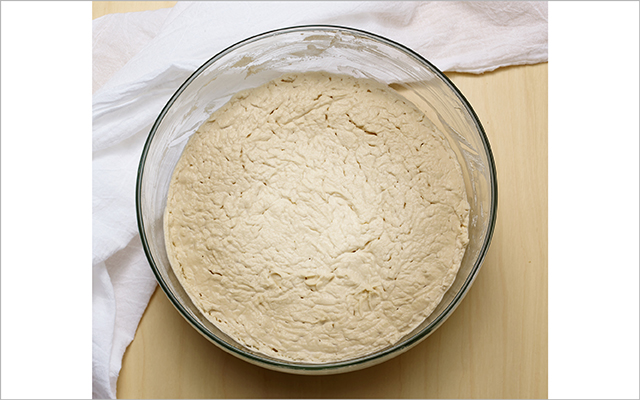 Photography by John Mowers
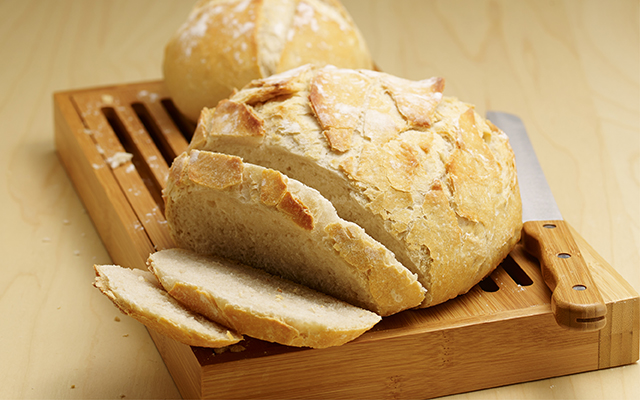
Bread Srsly’s Gluten-Free Sourdough
San Francisco’s first gluten-free sourdough bread company shares their flagship recipe — a perfect use for your first starter!
Ingredients
- 1/2 cup millet flour
- 1/2 cup sorghum flour
- 1/2 cup arrowroot starch
- 1/2 cup white rice flour
- 1 1½ tsp kosher salt
- 2 tsp xanthum gum
- 1/2 cup sourdough starter
- ½-1 cup water, as needed
Directions
- In a large bowl, whisk together dry ingredients.
- Mix in sourdough starter, then add enough water so that the dough resembles pancake batter. Stir to combine.
- Let the dough rise for 12-24 hours at room temperature.
- Bake at 375 in a greased loaf pan until the top is golden brown, about 1 hour.
- Cool completely before slicing.
Looking for other ways to use your sourdough starter? Check out our Pinterest board at https://www.pinterest.com/explifemag/baking-with-your-sourdough-starter/ for some of our favorite recipes!
— by Sadie Scheffer

This Post Has 0 Comments