

In Pilates, the emphasis is on quality of movement over quantity. That’s what makes the workouts difficult — and so effective.
“Pilates is one of the best methods for improving your posture and spinal health because it mobilizes your spine and strengthens the supportive muscles,” says Kathryn Coyle, Life Time’s national Pilates program manager. “Everyone has something to gain from Pilates.”
The method targets the body’s core, which includes all the muscles from your chest to your hips, all the way around your body, including your deep abdominals, back, and pelvic floor. With all movement originating from the core, the low-impact exercises also emphasize postural alignment, dynamic stretching, and powerful breathing.
A 2016 study found that eight weeks of Pilates classes improved abdominal endurance, flexibility, and balance. These benefits can also boost performance in other sports while helping prevent or rehab injuries.
Plus, the muscle-balancing exercise protocol handily counteracts the effects of long days of sitting at a desk.
Still, Pilates can be intimidating. It involves twists, rotations, isometric holds, pulses, body-weight lifts, and an often complex lexicon.
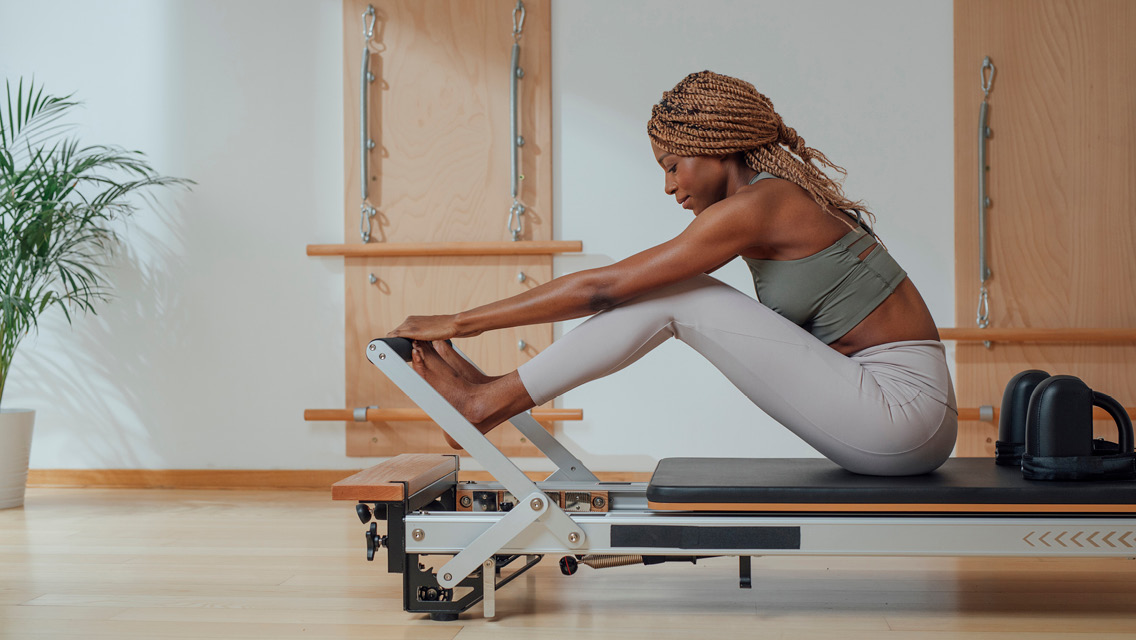
Exercises can be performed on a mat or with equipment. The reformer, for instance, uses spring resistance to not only increase load but also support the body through varied ranges of motion. A more portable support tool is the Pilates ring (also called a magic circle), which can assist with alignment and engagement.
But it can be tricky to correctly activate the muscles needed to perform Pilates exercises.
“Pilates has a learning curve,” says Tina McAlpine, Pilates coordinator at Life Time in White Bear Lake, Minn. “My advice is to give it time.”
These technique tips and drills can help you elevate your practice.
Hone Your Practice
Pick Your Pilates
When choosing a class type, you’ll likely be faced with the question: mat Pilates or reformer?
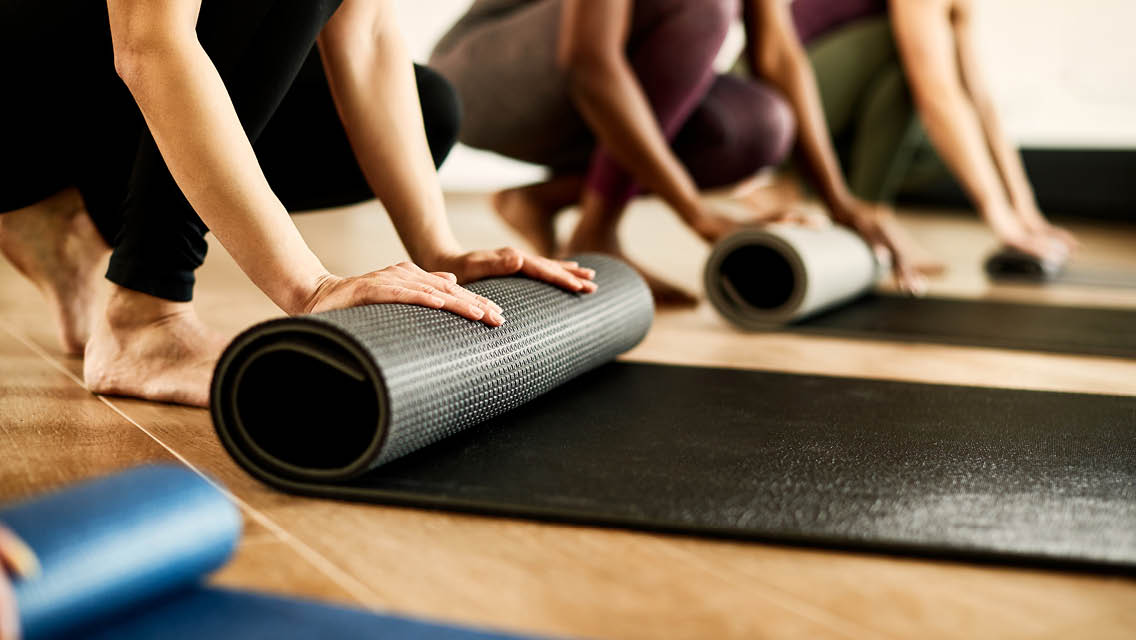
Mat Pilates is performed using a mat that is slightly thicker than a standard yoga mat.
The reformer is a machine featuring a sliding platform, stationary foot bar, and springs and pulleys for added resistance; it’s the most common piece of equipment you might find in a class.
In addition to adding resistance, the equipment can help you find the right position, as well as support your body against gravity. This makes it an ideal starting place for beginners, says Coyle, adding that mat Pilates is the more challenging variation. (Note, however, that reformer classes are often more expensive.)
Some classes will incorporate both mat and reformer work, and possibly also include a tower, a wall unit that allows for horizontal and vertical exercise progressions.
Whichever class type you choose, the focus is control — not muscle exhaustion or working to failure.
Try both if you have the physical and financial resources to do so, and see which you prefer. In either, make sure to inform the instructor if you’re new or rehabbing any injuries.
Get the Scoop
In Pilates, your powerhouse is the area of your body from your ribs to your hips: It includes your abdominals, lower-back muscles, glutes, and pelvic floor (the sling of muscles at the base of your abdomen that attach at your hips and support your pelvic organs). These muscles work together to support your trunk and stabilize your spine.
A foundational Pilates technique called the scoop is designed to activate your powerhouse. Try this exercise to find your proper scoop position:
- Stand up straight with your legs together and place one hand on your lower abs and your other hand above your bellybutton.
- Without holding your breath or lifting your shoulders, use your muscles to pull your bottom hand in toward your spine and then pull it up toward your top hand. You’ll feel your abs “hollow,” or scoop inward.
You’ll hear many variations on this cue in Pilates classes. “I like to use a lot of layperson’s terms to help participants relate,” McAlpine says. Here are some common cues:
- “Draw your bellybutton into your spine.”
- “Zip up a tight pair of jeans.”
- “Pull your middle up and in.”
- “Imagine tightening a corset around your waist.”
These cues help you visualize and initiate the scoop in order to stand or sit up straighter and tighten your midsection. This helps you naturally know how the scoop feels, and the more you practice, the better you will be able to perform your Pilates exercises.
Tighten Up
Tighten up your clothes, that is. In Pilates, you’ll be moving through a variety of poses, and a loose T-shirt might slip over your head, and baggy shorts could ride up. Choose more fitted shirts, leggings, or compression shorts to keep your clothing from becoming a distraction and to allow your instructor to see your alignment.
Additionally, some people prefer wearing nonslip socks or gloves over going barefoot or barehanded to help their grip and connection to the mat or reformer.
4 Pilates Moves You Can Do Anywhere
Because Pilates is so portable, the best way to improve your performance in class is to practice a couple of the most popular exercises on your own. The following four moves all focus on the scoop. Working on these will not only translate to whole-body benefits, but will also grant you the good form to keep your neck and lower back safe by tapping into and building your core strength.
In class, you can perform all the moves on a mat using body weight only or on a reformer. At home, a yoga mat or towel work great. Practice these moves on days you can’t make it to class or tack them onto your existing strength- or cardio-training routine. Just remember that Pilates is hard work, and your muscles will need time to recover.
Drill 1: The Hundred
- Lie on your back on a mat. Scoop your powerhouse in preparation and do your best to maintain that zip and hollow from start to finish.
- Tuck your chin and lift your head and shoulder blades off the mat while raising your arms straight and parallel to the floor. Make sure you are looking down at your belly.
- Raise your legs a few inches off the floor. Try to keep them straight, but if you can’t or if this position causes discomfort in your back, bend your knees.
- Beat your arms up and down for fives beats while inhaling slowly, and for five beats while exhaling slowly. Work up to a total of 100 beats over time.
Drill 2: The Single-Leg Stretch
- Lie on your back on a mat. Curl your head and shoulders off the mat and bring both knees in toward your chest. Keep your chin tucked and gaze at your abdominals.
- Inhale and extend your right leg out straight, approximately 45 degrees from the mat. Hold onto your bent leg, with your outside hand on your knee and your inside hand on your ankle.
- Exhale and switch legs, bending your right leg to a 90-degree angle and extending your left leg to 45 degrees off the mat. Repeat the movement for three reps on each side.
Drill 3: The Corkscrew
- Lie on your back on a mat with your shoulder relaxed and arms along your sides, palms down. Extend your legs up to the ceiling. Keep them together, squeezing your inner thighs.
- Keeping your belly scooped in, inhale and circle your legs to one side of your body. The legs stay together. Make this a small move at first, keeping your hips on the mat.
- Circle your legs downward and toward the midline of your body. Don’t take your legs so low your lower back comes off the mat. It helps to lightly press the backs of the arms on the mat.
- Exhale and circle your legs to the other side of your body. Bring your legs around and up to start position.
- Repeat, doing another circle in the other direction. Continue until you have done three on each side.
Drill 4: Swimming
- Lie on your stomach on a mat with your legs straight and together.
- Stretch your arms straight overhead, keeping your shoulder blades settled in your back and your shoulders away from your ears.
- Pull your abs in so that you lift your bellybutton away from the floor.
- Lift your arms and legs a couple of inches off the floor. At the same time, lengthen your spine so that your head and chest come up off the mat.
- Pump your right arm and left leg up and down in a small pulse, continuing to reach out from your center. Alternate pulses with your right arm and left leg and left arm and right leg.
- Breathe in for a count of five kicks and reaches, and out for a count of five. Repeat two or three times, resting as needed.
For more moves and exercise details, see “5 Pilates Moves for a Strong Foundation” and “The Stretching and Mobility Workout“.
Gear Essentials
PILATES WHEEL:
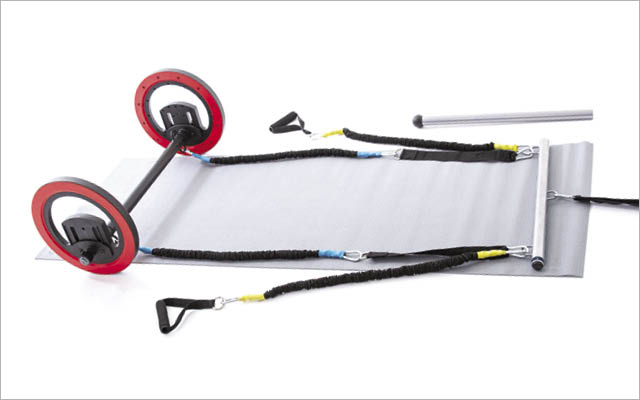 Photography by Andria Chamberlin
PILATES RING:
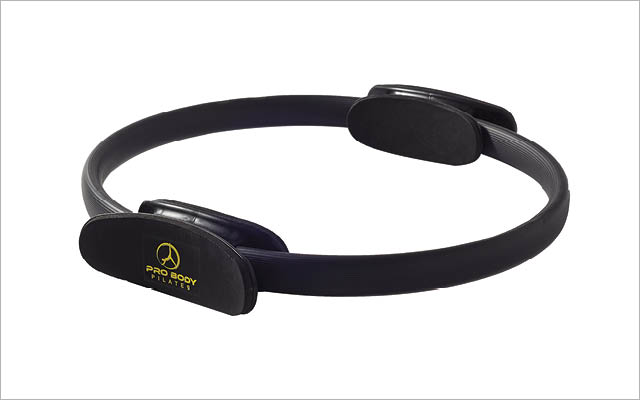 Photography by Terry Brennan
TOESOX PILATES SOCKS:

The nonslip soles on these socks improve grip and control. The five-toes design allows toes to move freely and without constriction. $14–$22 at www.toesox.com.
This originally appeared as “Straight to the Core” in the January/February 2020 print issue of Experience Life.
This Post Has 0 Comments